

My Mom’s South African Farmhouse Rusks Recipe
My Mom's South African Farmhouse Rusks Recipe
Preparation time
Cooking time
Total time
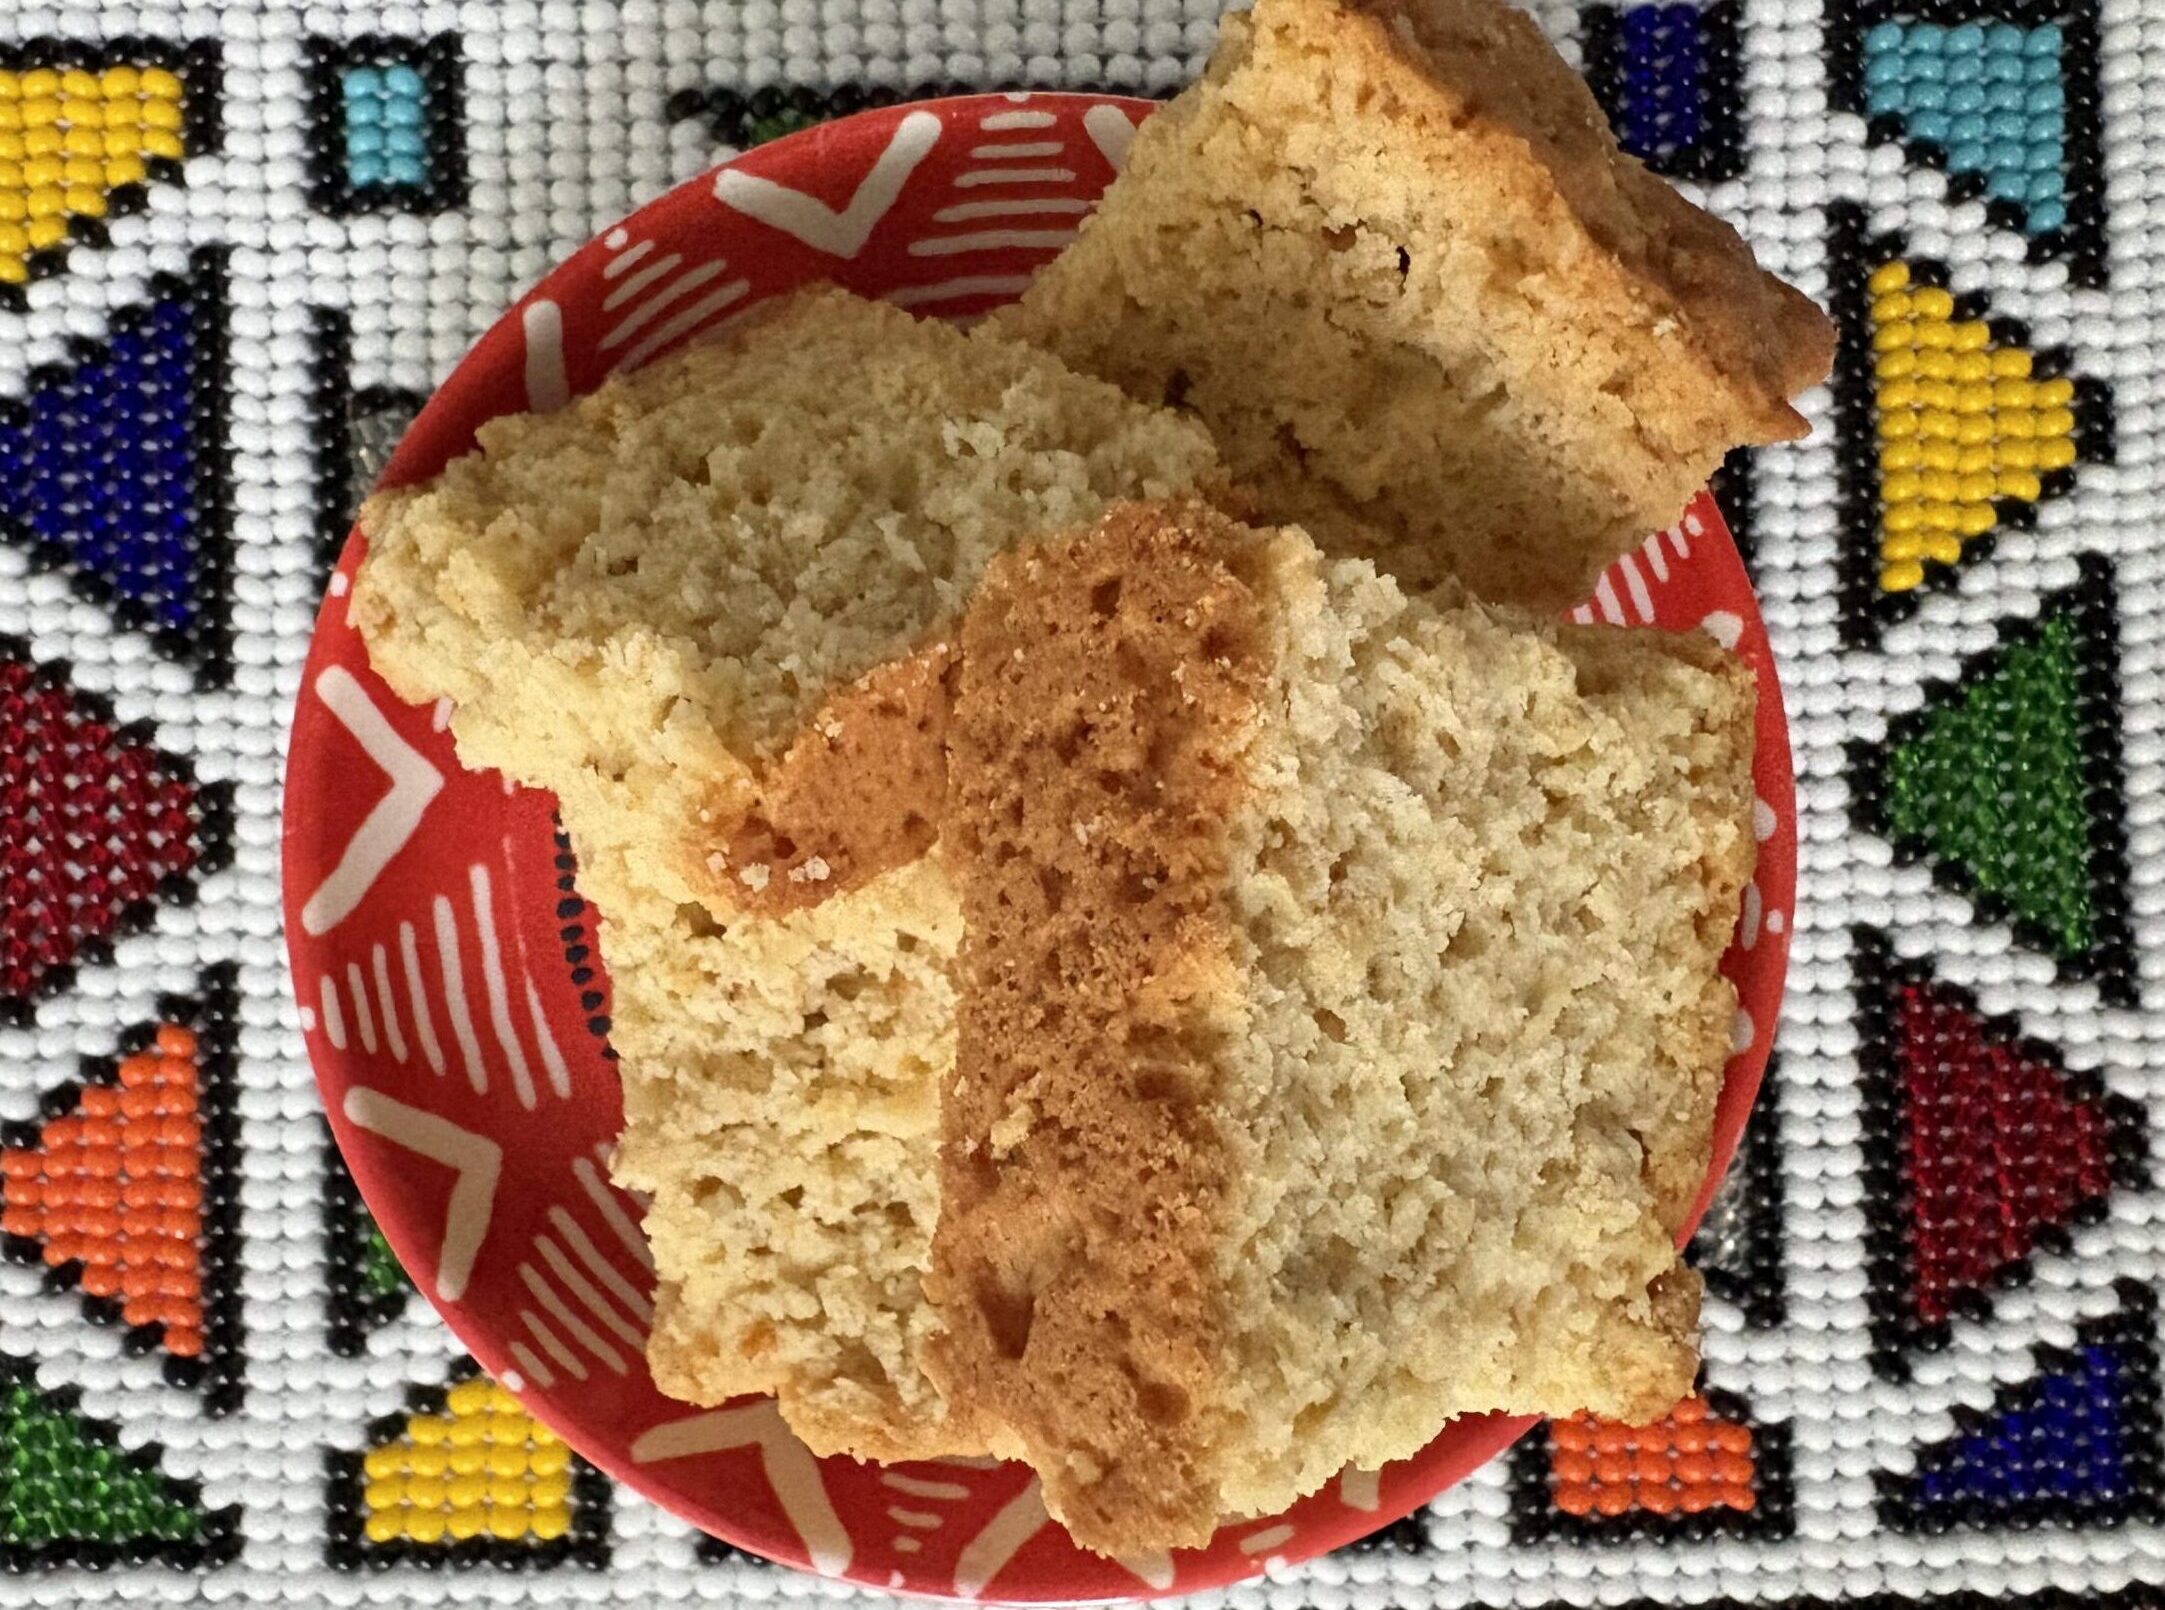
These traditional farmhouse-style rusks are crisp, not overly sweet, and perfect for dunking into a cup of tea or coffee. They are wonderful to have on hand for those moments when you want to pause, relax and enjoy a little something with your favourite hot drink. I love the flavour combination of coffee and rusk.
Marissa: www.marissa.co
Recipe type: Biscuit and Cookie Recipes
Cuisine: South African
Servings: 30
Ingredients
- 2 large eggs
- 250ml (1 cup) buttermilk
- 125g butter, melted
- 90ml (6 tablespoons) sunflower or a neutral-flavoured oil
- 500g self-raising flour
- 250ml (1 cup) sugar
- 500ml (2 cups) oats
- 1 level teaspoon salt
Method
- Line a deep-sided roasting or brownie tin measuring 34 cm × 24 cm with greaseproof paper, leaving enough overhang on the sides to lift the rusks out easily once baked. Alternatively, use two smaller brownie tins measuring approximately 20 cm × 20 cm for taller rusks. A deeper mixture may need longer to bake, so allow extra time if necessary.
- Preheat your oven to 180°C conventional or 160°C fan.
- Using a stand mixer or hand mixer fitted with a paddle attachment, beat together the eggs, buttermilk, oil and melted butter until just combined. The mixture should be incorporated but not light and fluffy.
- Add the self-raising flour, sugar, oats and salt to the wet mixture.
- Mix on a low speed until everything is fully incorporated into a thick batter.
- Scoop the mixture into your prepared tin using a wooden spoon or, ideally, a silicone scraper.
- Wet your hand with cold water and gently pat the mixture smooth with the palm of your hand
- Place the tin in the preheated oven and bake for 35 minutes to 1 hour, depending on the size and depth of your tin. The rusks are ready when a skewer inserted into the centre comes out clean and the top is lightly golden brown. If the centre is not cooked through, return the tin to the oven and check again after a few minutes.
- Remove the tin from the oven and leave the baked mixture to cool in the tin for about 15 minutes.
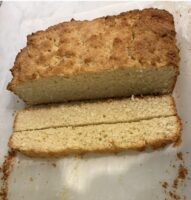
- Lift the baked mixture out of the tin and place it on a chopping board. Carefully peel away the greaseproof paper. Slice into your preferred size. I cut mine into roughly 2 cm × 5 cm pieces, but you can make them chunkier if you prefer.
- Reuse the greaseproof paper to line large baking sheets. Arrange the sliced rusks about 2 cm apart. Lay smaller rusks flat on the baking sheets. For chunkier rusks, stand them upright, making sure they are stable and spaced apart to allow the air to circulate.
- Reduce the oven temperature to 100°C conventional or 90°C fan and return the baking sheets to the oven. Leave the rusks to dry for between 6–8 hours or until they are completely crisp and dry all the way through. The exact time will depend on their size and thickness
- To check that they have crisped all the way through break or cut a rusk in half to check the centre. It should be completely dry and crisp, with no soft or damp areas. If the centre is still soft, return the rusks to the oven and continue drying them and check them after 15 minutes.
- Once dried, allow the rusks to cool completely before storing them in an airtight container. I like to line the container with fresh greaseproof paper.
- This recipe makes approximately 30–40 rusks, depending on the size you cut them into.